
In case you missed it, California is in a drought. Like actually. Of course I’ve been doing the usual drought-sensitive things like taking shorter showers, not washing my car, and not brushing my teeth leaving the faucet on while I brush my teeth. Fortunately I live in an apartment building, so the waiting time for hot water to come out of the tap is relatively short but my environmentally-sensitive-Chinese-raised-don’t-waste-anything-ever conscious has been weighing me down. Unlike my mom, I don’t have a green thumb and certainly don’t have the patience to tend to a garden, so I’ve been perplexed as to how to use extra water in a constructive way. On top of that, up until very recently, Waste Management (the garbage company that services Oakland) did not have a composting program for residential buildings that had more than 8 units. Between wasting water and tossing green stuff into the garbage the hippie in me was pretty bummed out.

Enter the solution! Edible plants! There is nothing more incentivizing for me than free food! So over the summer I decided to buy a $5 basil plant from Trader Joes, which I kept indoors by my kitchen window. In case you’ve never bought one before, it’s really one of the easiest things to take care of. You literally just add water and cut off leaves when it gets unruly (I made a LOT of pesto dishes and basil dips). Instructions say to always keep the soil moist, so I stuck the entire plant in a shallow tupperware and watered it whenever the extra water in the tupperware got low. When trimming the leaves, I tried to keep at least 2 leaves per stem attached (always the smallest ones). Occasionally I also cut back stems when the plant started growing too tall. This ensured that the basil would grow back uniformly and that no one stem was stronger or weaker. In the beginning, the basil took on a lot of water (probably a combination of the warm weather and the plant being younger). After about a month, though, it was markedly less thirsty and I started to have too much water again. it got me thinking about what other plants could regenerate from seeds, stems, and roots. I did some research and found that there are a lot of scraps which can simply be placed in clean cups of water.

I decided to try a level one easy plant and a level two easy plant – garlic and lettuce, respectively. This was mostly because I was craving Caesar salad and therefore had some romaine hearts and cloves of garlic. I placed the plants in shallow water, which I changed whenever the water became cloudy and yellow – every 1 to 2 days. I never let the water get more yellow than what is shown on the left in the picture above. That picture was taken just a few days after I started growing them and as you can see they started to sprout pretty quickly.

This was taken 2 days later. Look at that root system on the garlic! I ditched one of the romaine bottoms because it wasn’t sprouting at all but hey, 2 out of 3 isn’t bad. I was concerned about the mold on the bottom of the garlic bulb (it had been there prior to planting) but it didn’t seem to affect the growth of the garlic.


When the plants grew, I transferred them to taller glasses. These photos were taken 3 days later, for a total growing period of about 1.5 weeks. You can see lighter green stems near the bulb of garlic and darker shoots on top. The light green parts tend to be bitter, so it’s best to only harvest the dark green tops for eating. I waited until mine grew more, before harvesting but they can be cut any time and new shoots will grow back. This would be an appropriate time to plant the lettuce in a pot with soil or directly in the ground. My brother has done this and been quite successful with it. Unfortunately, I forgot to transfer them and they eventually rotted in the water. Don’t do that.


Newly empowered by the success of my other plants, I “branched out” (haha, I know, I’m totally hilarious) to other edible greens. Above, you see baby fennel and cilantro. These were less successful – after about half a month, the fennel has stayed fresh but hasn’t grown and the cilantro was doing well for a while but eventually wilted away.
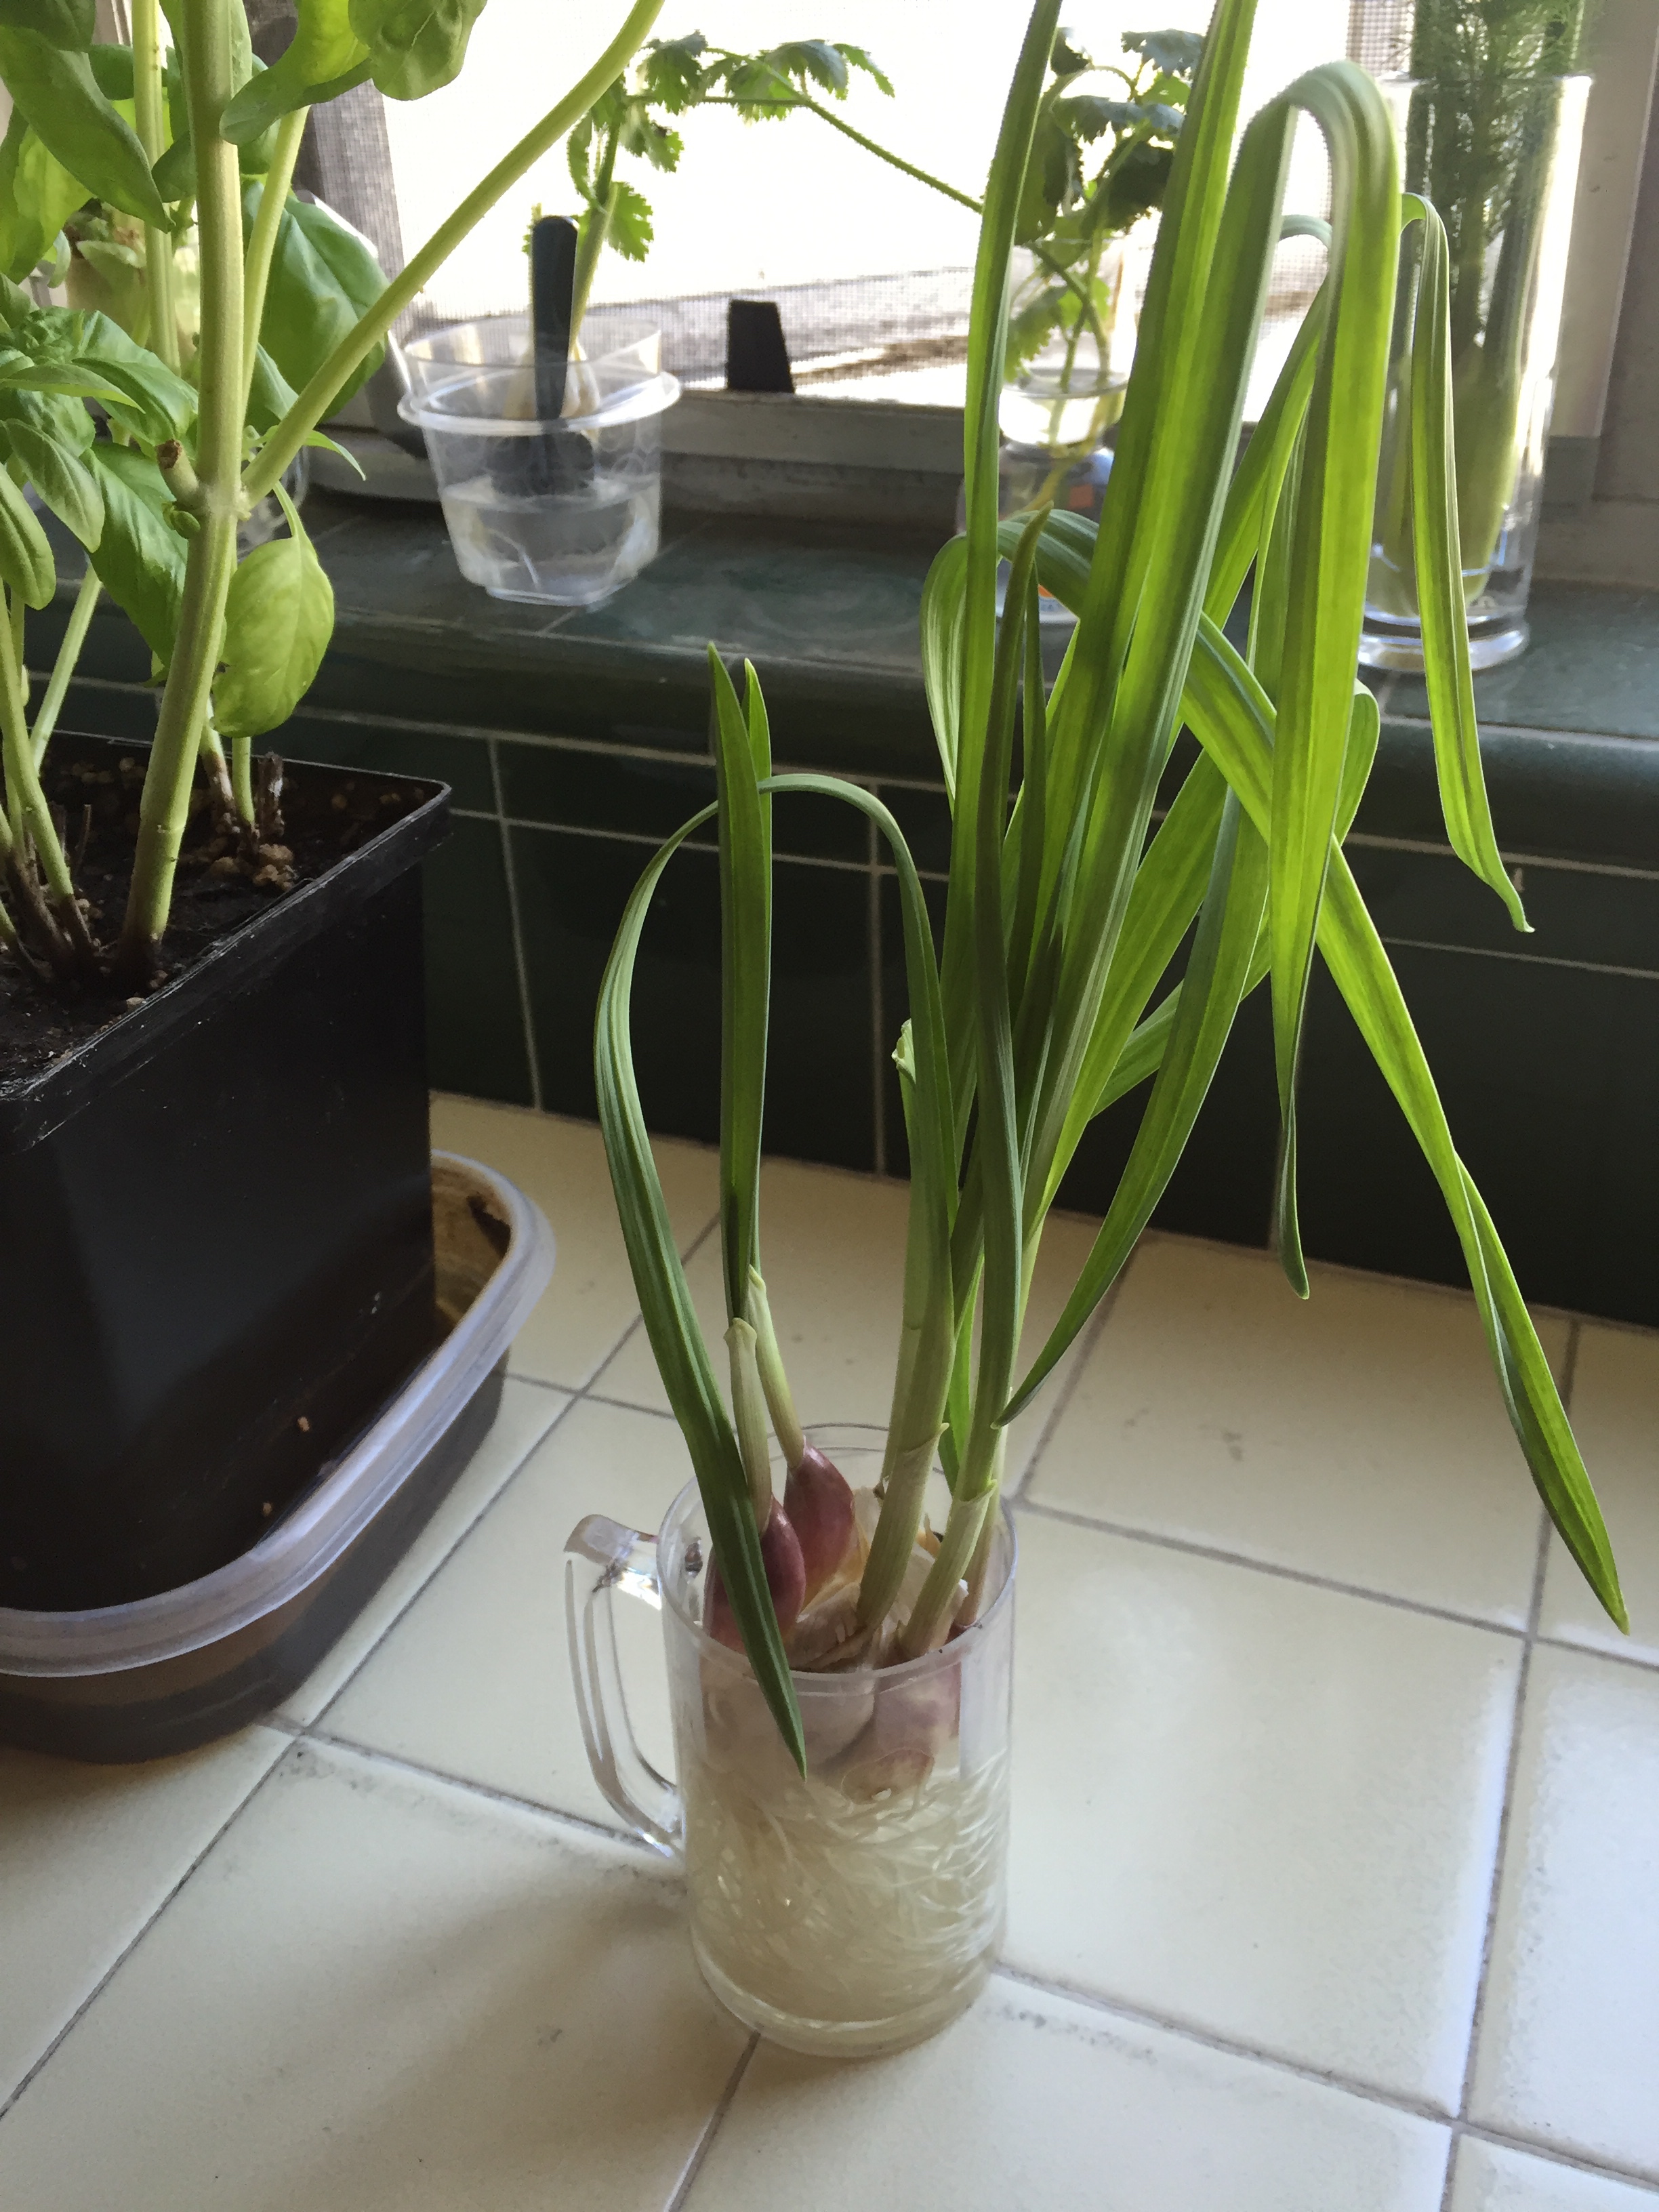
By far, the champion of the bunch has been my garlic. I have been harvesting the shoots when needed and have adopted a similar philosophy to the basil in trimming back the tallest shoots and always leaving 2 smaller shoots intact. I ended up peeling off that moldy outer skin, which had already started to shed naturally. I suspect this plant would transfer well to soil but it’s so pretty on my windowsill that I’m going to try to keep it in water for as long as possible. I’m also curious to see whether more cloves will grow. The shoots can be cut into 1 inch pieces and added to a stir-fry, sliced small like green onions for garnish, or pureed into a vinaigrette or sauce. They have a moderately garlic flavor with a nice grassy finish that I’m excited to experiment more with.
My hope is to try out a few other plants, such as ginger and green onions and also shop around for a small citrus tree that I can grow indoors. Keep checking in for more updates.
Happy Growing,
D

One thought on “DIY: Kitchen Scrap Garden”